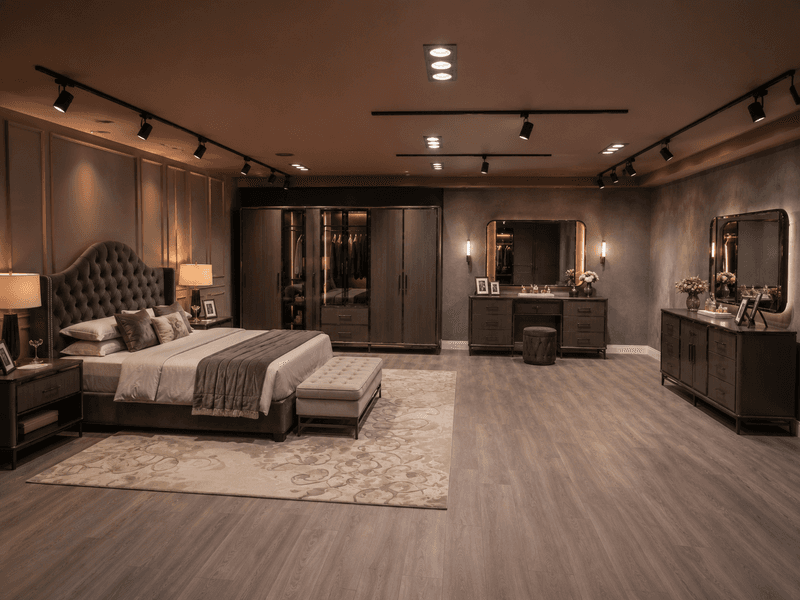
How to measure a bedroom
Three numbers decide a bedroom measurement: wall width, ceiling height and the walkway in front of the wardrobe wall. Leave at least 60 cm on each side of the bed and at least 90 cm in front of the wardrobe.
· Valentinos Luxury · 3 min read
Measuring is more than holding a tape to a wall. There are seven figures to take, and they all belong on one sheet of paper: the width of every wall, the ceiling height, the door width and swing direction, the window width and sill height, the radiator position and depth, socket and switch heights, skirting height and thickness, and the dimensions of any column or chimney projection.
Where to measure wall width
Wall width is measured at three points: 10 cm off the floor, at mid height, and 10 cm below the ceiling. In older buildings those three can differ by 2–3 cm. The smallest goes on the cutting list; otherwise the unit will not fit the wall.
Where there is skirting, wall width is measured above it. A 2 cm relief cut is made behind the wardrobe to clear the skirting, or the skirting is removed along that section — which of the two applies is decided at the measuring stage.
Ceiling height and installation allowance
Ceiling height is also measured at three points; floor screed is rarely level. A wardrobe that runs to the ceiling needs an installation allowance: the module is built 3–5 cm short and the gap is closed with a cornice profile or filler panel. Without that allowance the module cannot be stood up in place.
Where there is a suspended ceiling, wardrobe height is calculated to the underside of it. Note the positions of any downlights too; a door must not strike one as it opens.
Walkways — the part most often missed
There should be at least 60 cm on each side of the bed, with 70 cm giving comfortable use. At least 90 cm is needed between the foot of the bed and the wardrobe, because both the open door and a person have to pass. With sliding doors that can come down to 70 cm.
A bedside table with drawers needs 45 cm of clearance for the drawer to open fully. For a chest of drawers, allow 60 cm.
Radiators, sockets and windows
Radiator position and depth need measuring. If the wardrobe lands in front of a radiator, heat is lost and the wood dries out; the plan is changed. Note the distance between the top of the radiator and the window sill too.
If socket and switch heights are not recorded, they end up behind the wardrobe and become unusable. At the measuring stage we decide which socket stays behind the unit and which gets moved.
The window sill height limits how tall a chest of drawers or dressing table on that wall can be. If a module is to run under the sill, the sill thickness is measured too.
How to get it down on paper
Draw the room in plan, number all four walls and write each wall’s width on it. Mark the doors and windows with their swing directions. Add radiators, sockets, columns and chimney projections with their positions. That sheet is the starting point of the quotation.
Your own measurements are enough for an initial price. Before production begins, our team verifies them on site — that visit takes 45–60 minutes and is free.
Frequently asked
- Should I take the measurements myself?
- Your own measurements are enough for an initial costing. Before production begins, our team always verifies them on site, and the cutting list is drawn from those figures.
- What if the wall turns out to be out of true?
- Up to 2 cm is closed with a scribe profile. Beyond that, the module is built to the narrowest measurement and the side gap is closed with a filler panel.
- How many centimetres should be left either side of the bed?
- At least 60 cm, with 70 cm giving comfortable use. In front of the wardrobe, allow 90 cm for hinged doors and 70 cm for sliding.
- Can a wardrobe run all the way to the ceiling?
- It can. The module is built 3–5 cm short of the ceiling and the remaining gap is closed with a cornice or filler panel. Without that allowance the module cannot be stood up in place.